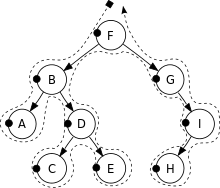
當你需要把焦點移到某個visual element或移開時,可以使用Focus event。
Focus events分為兩種不同的類型:
FocusOutEvent與FocusInEvent:在焦點發生變化之前,焦點離開事件(FocusOutEvent)和焦點進入事件(FocusInEvent)會沿著事件傳播路徑(propagation path)發送。FocusEvent與BlurEvent:焦點事件(FocusEvent)和失焦事件(BlurEvent)會在焦點發生變化後立即發送到事件目標(event target)
| Event | 描述 | Trickles down | Bubbles up | Cancellable |
|---|---|---|---|---|
| FocusOutEvent | 在失去焦點之前,會發送一個FocusOutEvent |
✔ | ✔ | |
| FocusInEvent | 在element取得焦點之前,會發送一個FocusInEvent |
✔ | ✔ | |
| BlurEvent | 在失去焦點之後,會發送一個BlurEvent |
✔ | ||
| FocusEvent | 在element取得焦點之後,會發送一個FocusEvent |
✔ |
專屬於Focus Event的屬性
relatedTarget:在焦點事件中參與的第二個target element。- 對於
FocusOutEvent與BlurEvent,這個屬性為聚焦的element。 - 對於
FocusInEvent與FocusEvent,這個屬性為失去焦點的element。
- 對於
| Event | target | relatedTarget |
|---|---|---|
| BlurEvent | 失去焦點的element | 取得焦點的element |
| FocusEvent | 取得焦點的element | 失去焦點的element |
| FocusInEvent | 取得焦點的element | 失去焦點的element |
| FocusOutEvent | 失去焦點的element | 取得焦點的element |
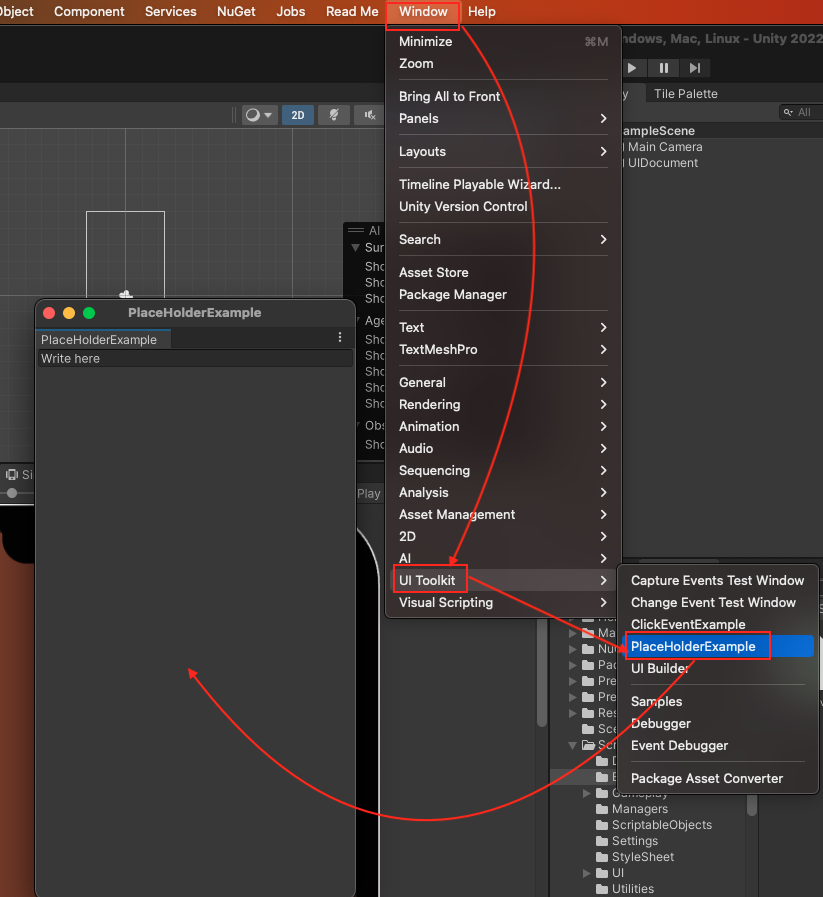
例子:使用FocusInEvent與FocusOutEvent為TextField實現placeholder text功能
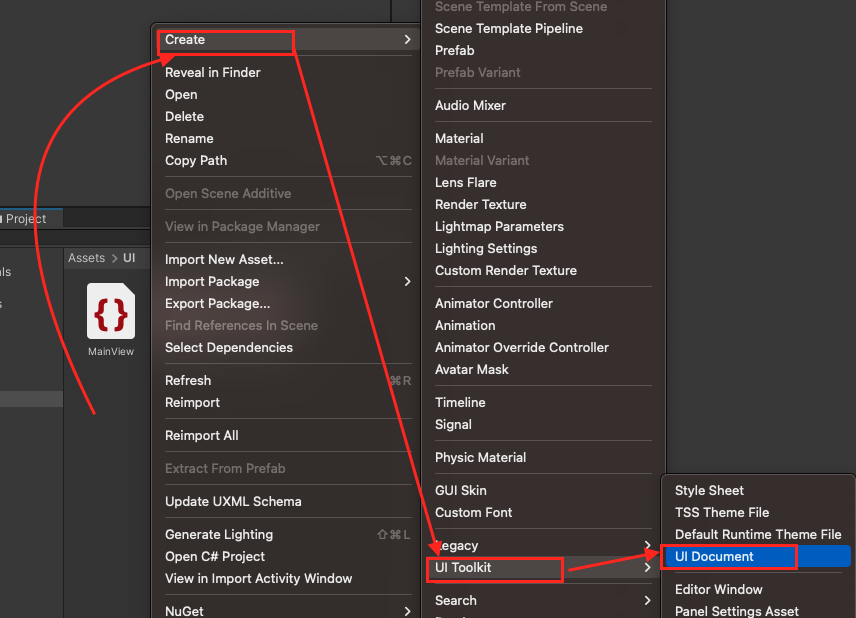
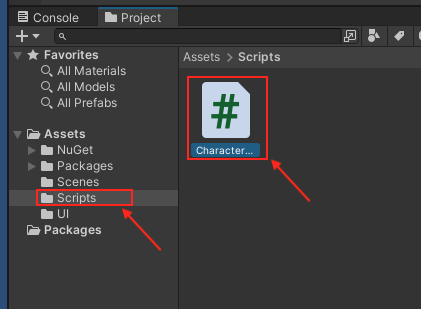
- 在Assets > Scripts > Editor 下建立一個 C# Script
PlaceHolderExample.cs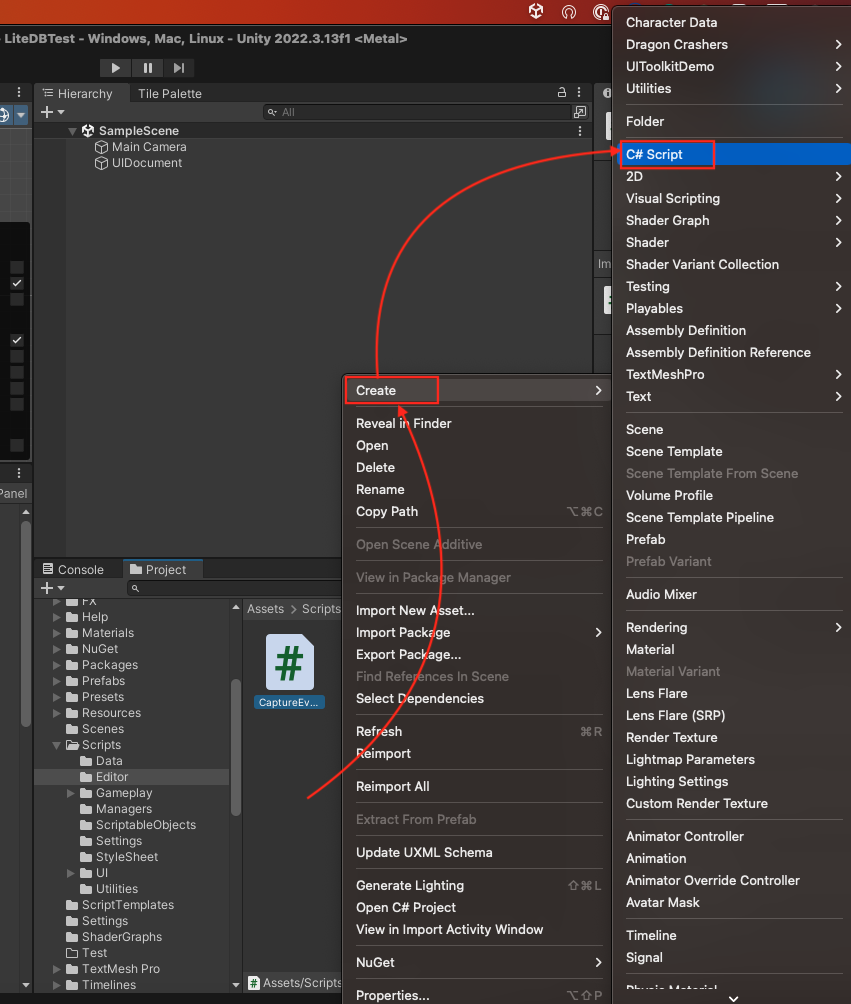
- 將以下程式碼複製到剛剛建立的C# Script中
1
2
3
4
5
6
7
8
9
10
11
12
13
14
15
16
17
18
19
20
21
22
23
24
25
26
27
28
29
30
31
32
33
34
35
36
37
38
39
40
41
42
43
44
45
46
47
48
using UnityEditor;
using UnityEngine;
using UnityEngine.UIElements;
public class PlaceHolderExample : EditorWindow
{
// 這個Attributes會在 Windows -> UI Tollkit 下加入一個 PlaceHolderExample
[]
public static void ShowExample()
{
PlaceHolderExample wnd = GetWindow<PlaceHolderExample>();
wnd.titleContent = new GUIContent("PlaceHolderExample");
}
private bool placeHolderMode = true;
private const string placeHolderText = "Write here";
public void CreateGUI()
{
// 建立 TextField
TextField textField = new TextField();
textField.value = placeHolderText;
rootVisualElement.Add(textField);
// 註冊FocusInEvent與FocusOutEvent
textField.RegisterCallback<FocusInEvent>(OnFocusInTextField);
textField.RegisterCallback<FocusOutEvent>(OnFocusOutTextField);
}
private void OnFocusInTextField(FocusInEvent evt)
{
// 如果這個 text field 收到聚焦,表示使用者想要輸入字串,因此要將placeholder文字清空
if (placeHolderMode)
{
var textField = evt.target as TextField;
textField.value = "";
}
}
private void OnFocusOutTextField(FocusOutEvent evt)
{
// 如果這個 text field 失焦,表示使用者已經完成輸入,但如果text field為空字串,則要將placeholder文字填回去。
var textField = evt.target as TextField;
placeHolderMode = string.IsNullOrEmpty(textField.value);
if (placeHolderMode)
textField.value = placeHolderText;
}
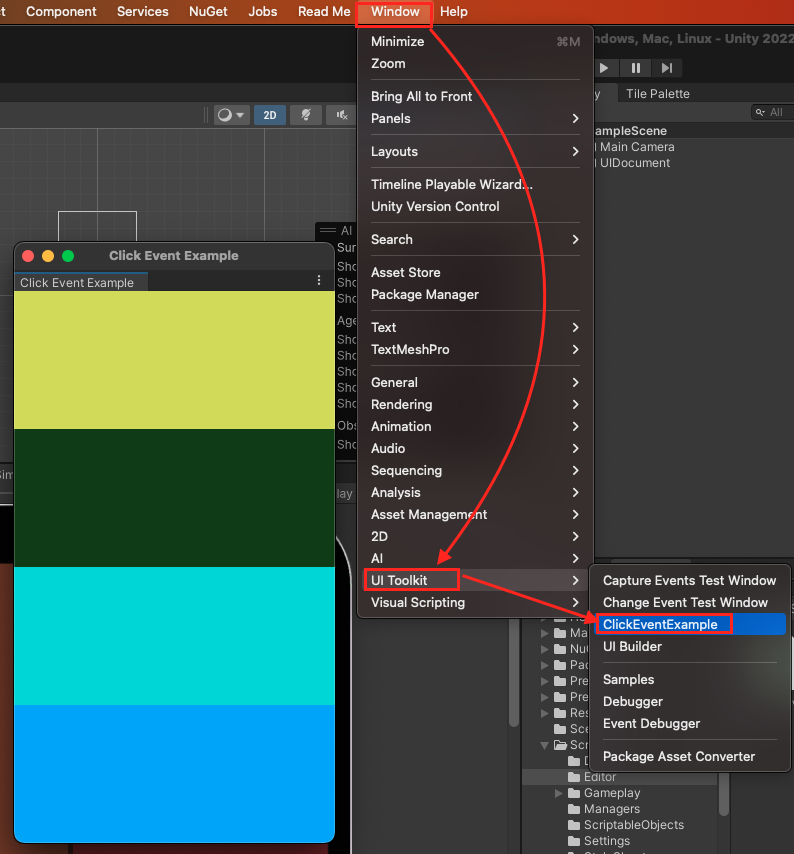
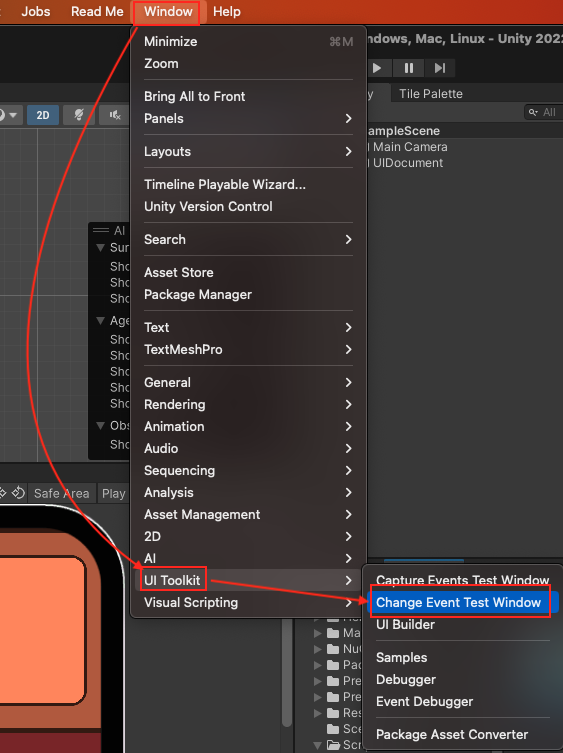
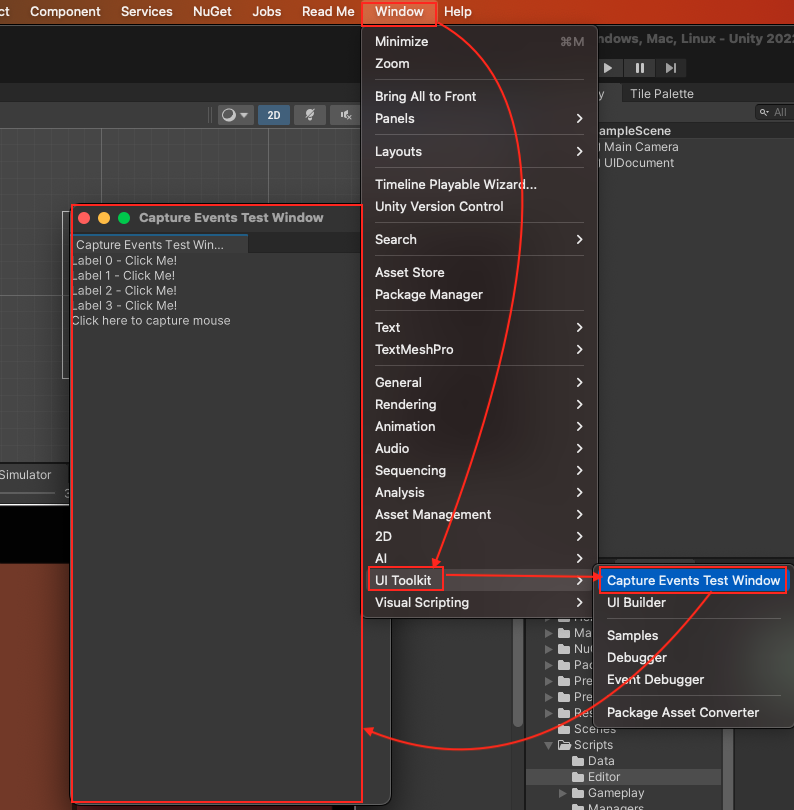
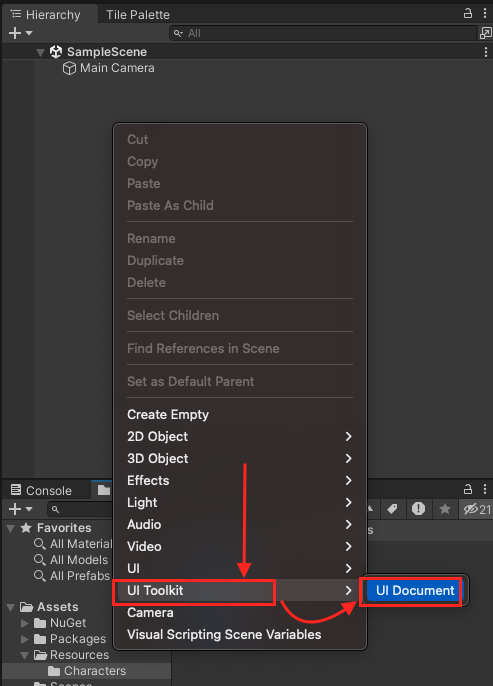
} - 在Unity編輯器中找到 Window > UI Toolkit > PlaceHolderExample
Reference: https://docs.unity3d.com/Manual/UIE-Focus-Events.html